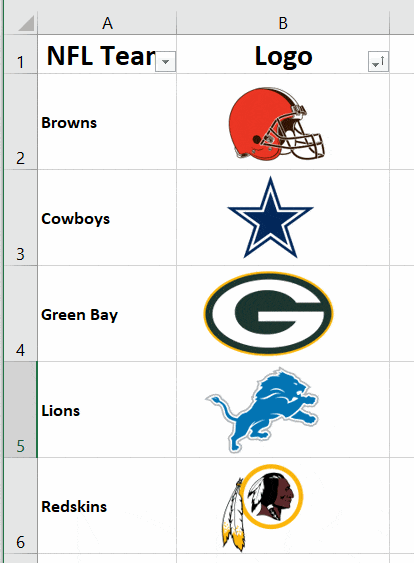
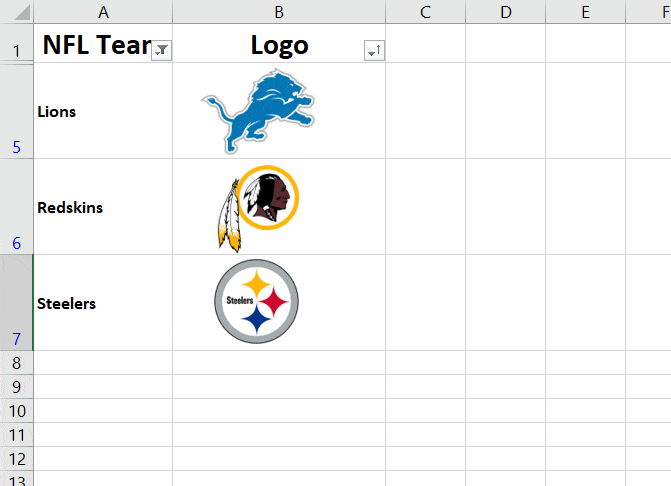
Learn how to add images to cells in Excel. Also use them with a filter.
In order to get started, you need to have specific images you would like to use. We will be using NFL team logos. You can use whatever you wish. Please note that it does help to have images that are similar in size. This makes the process much faster.
Demo File – Insert Picture in a Cell
Total Time Needed: 2 Minutes
Required Tools:
– Microsoft Excel
– Pictures formatted in .jpg or gif
Program Needed
Microsoft Excel
Before we get started, watch the video above.
Step 1 : Start by opening up a new Excel file.
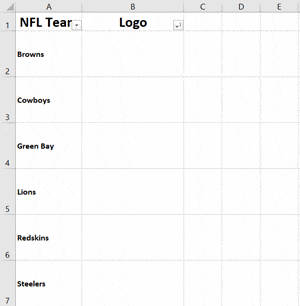
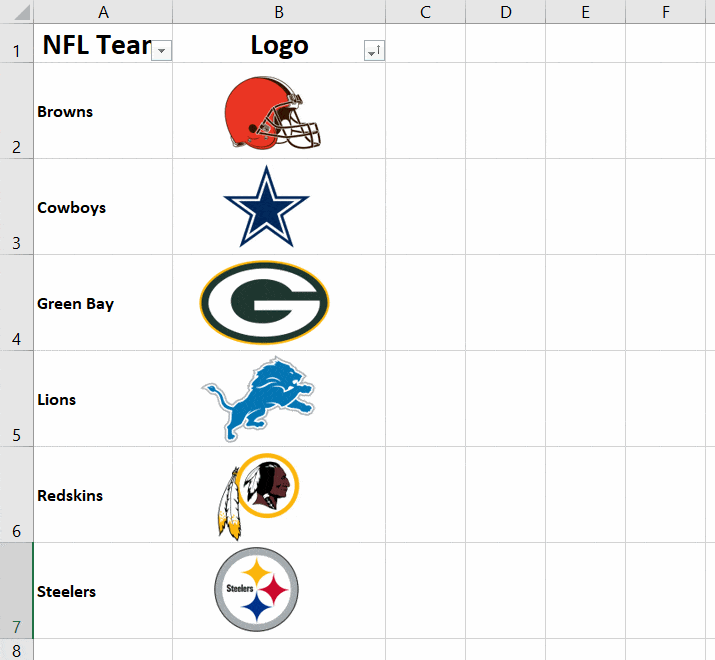
Open up and create a new Excel file. In the first column, make a list. Resize the row heights to your desired imaged size.
Step 2 : Insert your images.
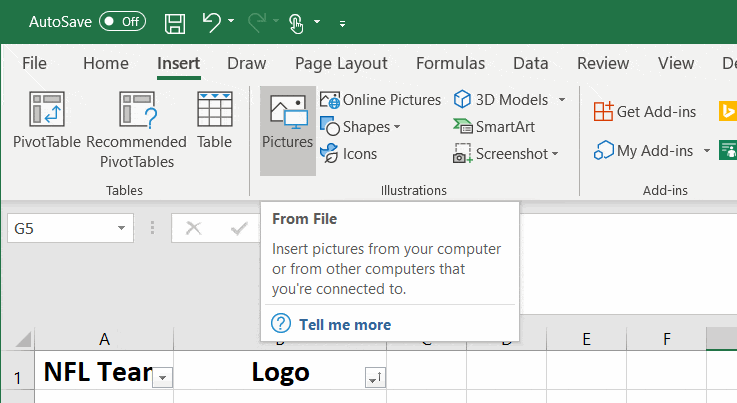
Select Insert – Pictures.
Step 3 : Resize the Image to fit.
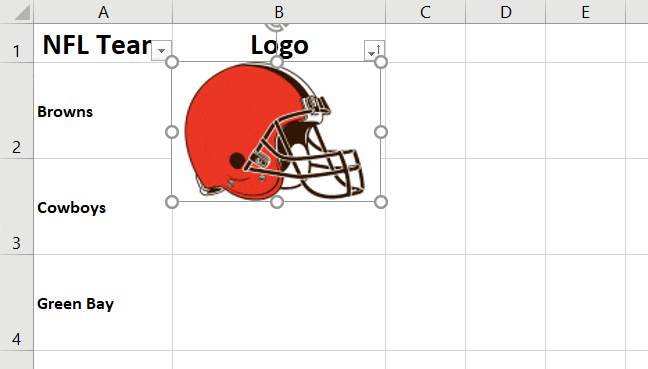
Select images and resize to fit in the desired cells. Make sure you hold “Shift” when resizing.
If you hold “Alt” when moving the images, it will snap to either side of the cell. This will help line up you image.
Step 4 : Continue adding images.
Continue steps 2-3 until all of the images are added.
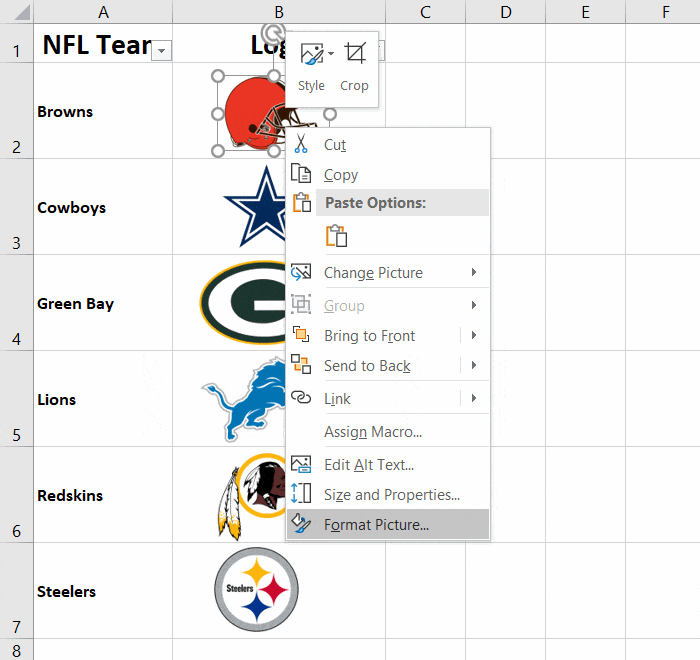
Step 5 : Lock the image with the cell
Here will we lock the image to the cell. To do this Right Click – Format Picture
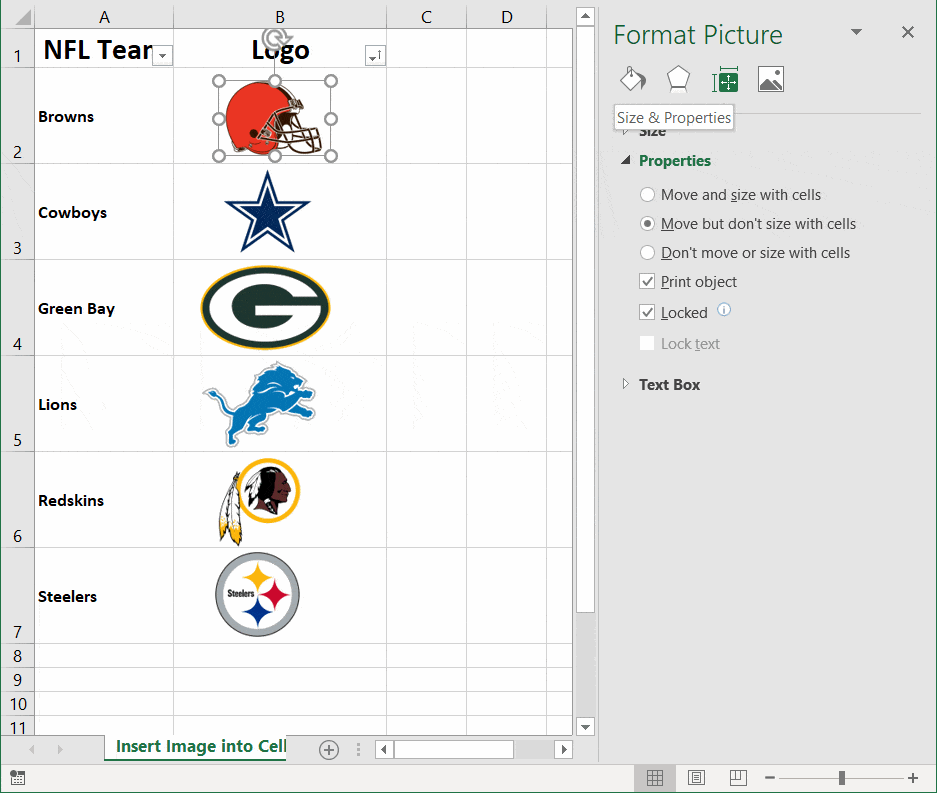
Step 6 : Size & Properties
In the Format Picture window, select Size & Properties.
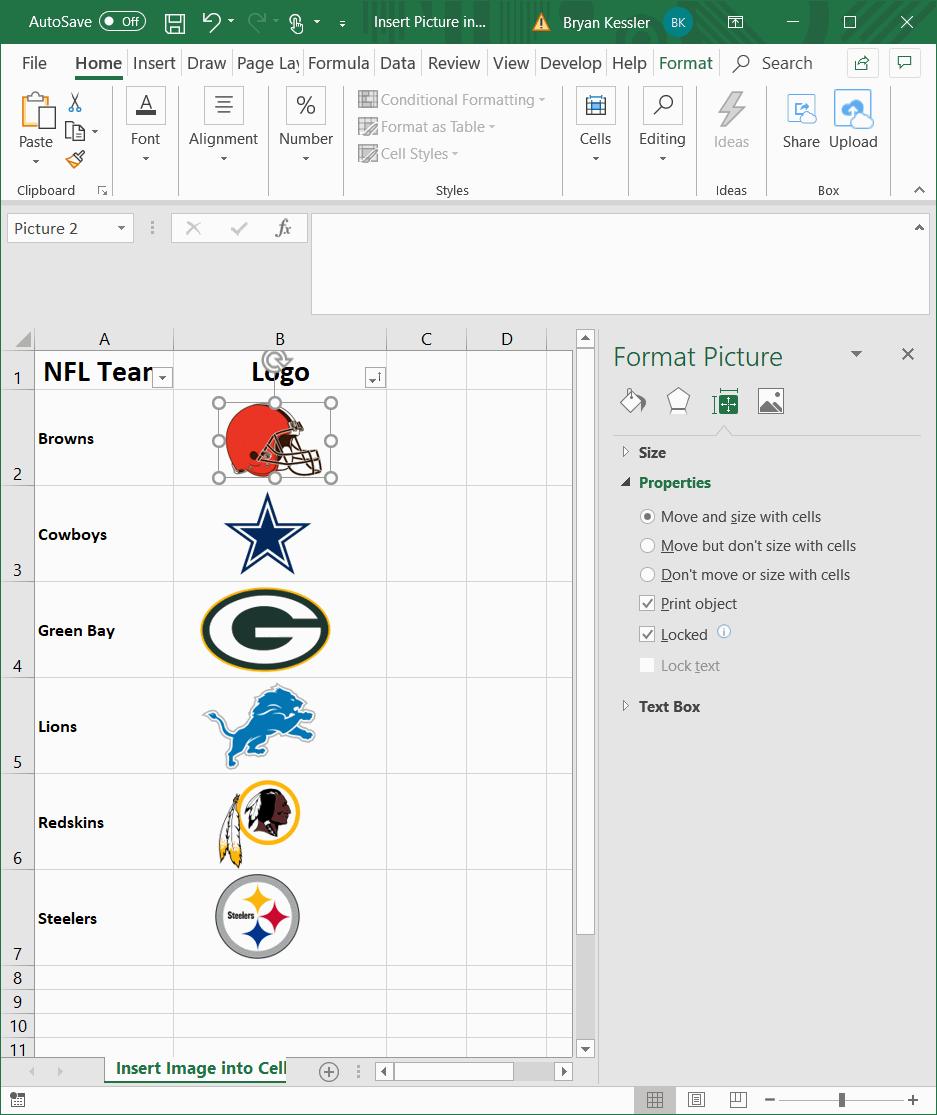
Step 7 : Move and Size with Cell
Click the radio button for “Move and Size with Cell.”
Step 8 : Filter by Team and Logo
Now, when you filter your list, the images will be hidden.
If you have any questions on the above tutorial, please let us know in the comment section below.

