Learning to write your first macro in excel is very exciting. In this tutorial we will write and run our first simple Macro. This tutorial will be a great introduction to more complicated applications. This is only meant to be an introduction.
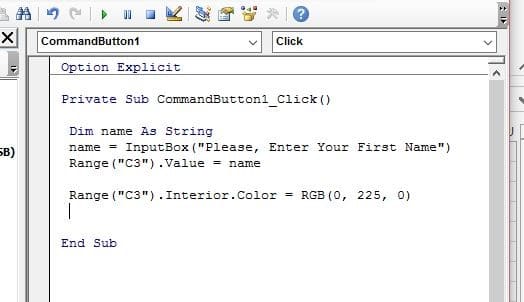
Our Macro will perform a simple task. It will ask for your name in a popup form and will take that name an input it into a cell. We will also change that Cell to Green. This is all down at the press of a single button.
So let’s start;
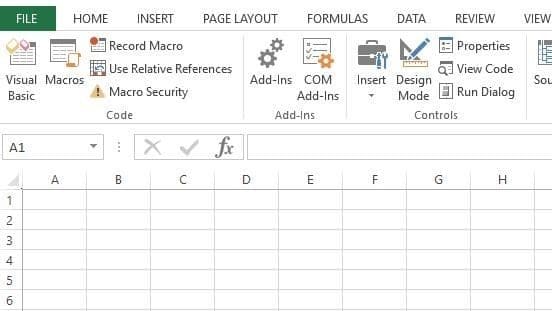
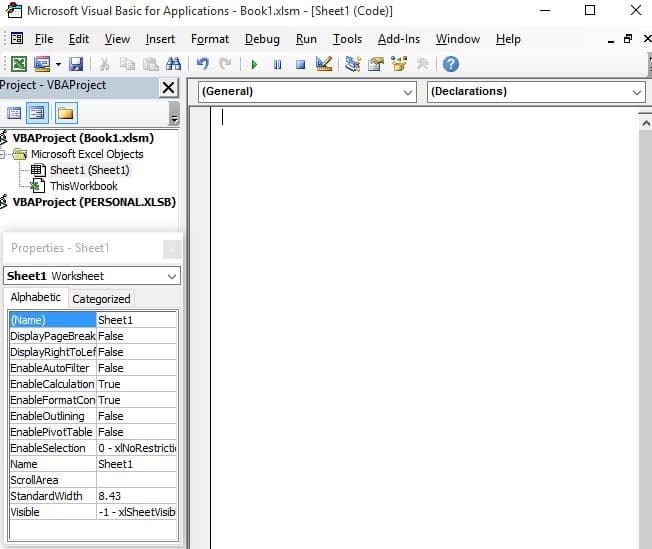
- Open the VBA Editor (by clicking the Visual Basic on the Code panel of the Developer tab).
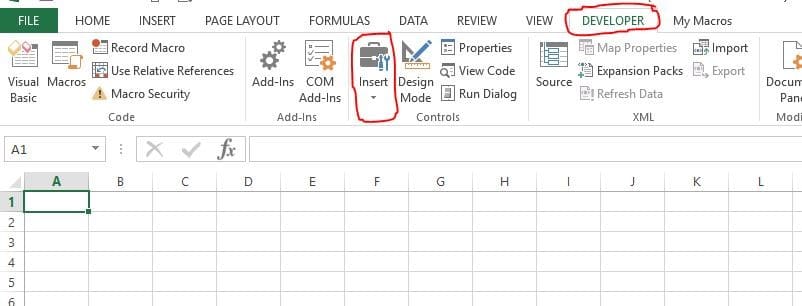
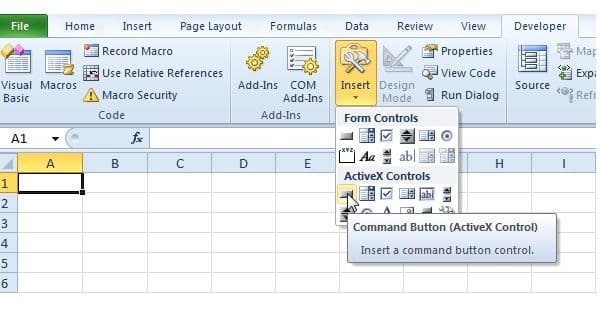
Add a Command Button: To do this, click on the Developer tab, click on Insert and from the ActiveX control group, select Command Button. Then drag the Command Button on your work sheet. FIG 1.8a, FIG 1.8b
Writing the Macros
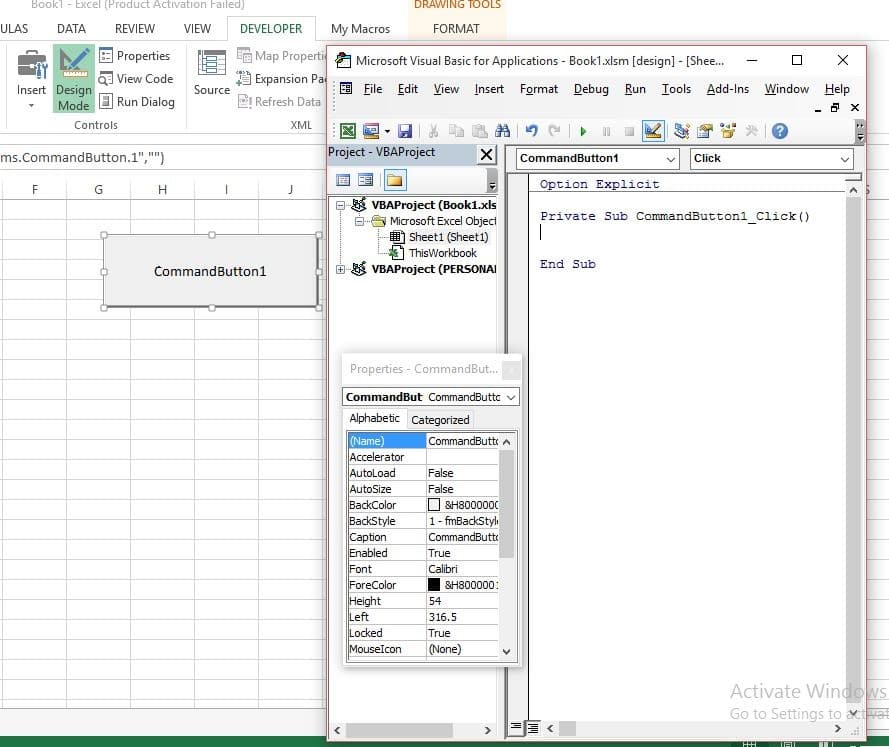
Now, we will write the macros (codes) that would be executed whenever we click the Command Button that we just added. To do this, double click on the Command Button, the Editor Window will open. Place your cursor in between Private Sub and End Sub and write the lines of codes (macros) given in Figure 1.9 into that space.
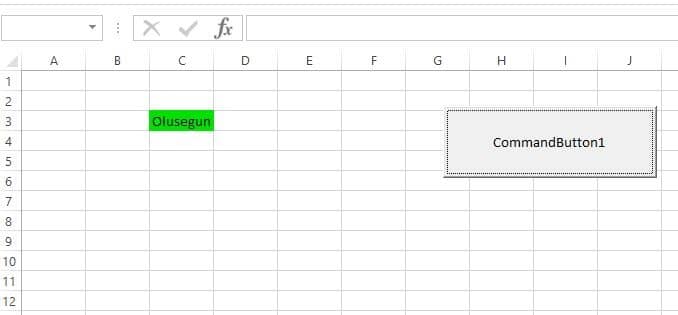
Now, minimize or close the VBA Editor Window, Click on the Command Button on the Sheet. Then you see the output of our code.
Your results should look like this:

And this;
Bravo! You’ve just written your first Macro. However, if you do not understand all the codes we’ve written, how it works and also the terms we used, DO NOT PANIC, as this is just to introduce you to writing a Macro.
Let’s take a look at the basic VBA terminology.